
Internal control assessments
Internal control self-assessments are evaluations of an organisation's internal controls and processes. These assessments are designed to identify any weaknesses or areas of improvement in the organisation's internal control systems and ensure that its financial reporting is accurate and reliable and can meet its strategic objectives.
You can find the Internal control phases via the Left menu: Internal control. Then, select the phase of internal control self-assessments you want to see.
Note: you need explicit user permissions for each phase. Contact your system administrator to gain access.
Overview
This overview will walk you through the Internal Control phases from the top to the bottom.
- You will find a quick link to this article about Internal control assessments using the button Docs: Internal control assessments.
- Learn more about initiating internal control self-assessments here: Initiating self-assessments
Table
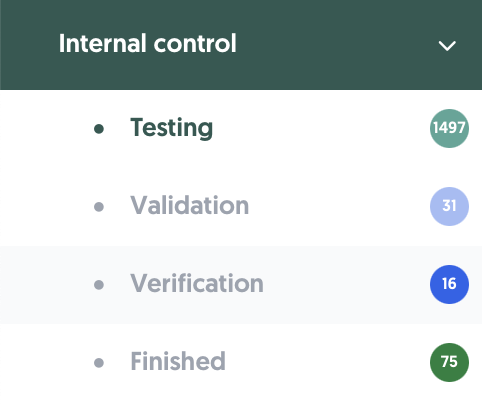
Depending on which phase of the internal control assessment is selected, the table shows an overview of assessments with the status testing, validation, verification or finished.
Search, filter, and export

Above the table, you will find options to search, filter, and export. From left to right:
- Search: You can search by name and ID.
- Clear search: Quickly clear your search field and stop searching using this button.
- Filters: Apply filters using this button. If any filters are active, the text will change to Filters applied.
- Saved filters (↓ down arrow): You will find your saved filter sets here, as well as a button to save your current set of filters.
- Clear filters (strikethrough funnel): This will clear all filters, including any text in the search field.
- Export: Export Internal control self-assessments to an Excel file.
- All results: This exports all internal control assessments in the table.
- Applied filter: This exports all internal control assessments in the table using the filters you have enabled.
- Selected rows: This exports all internal control assessments you have selected in the table.
- Number of rows per page: Choose the amount of rows you want displayed per page in the table.
Interacting with the table
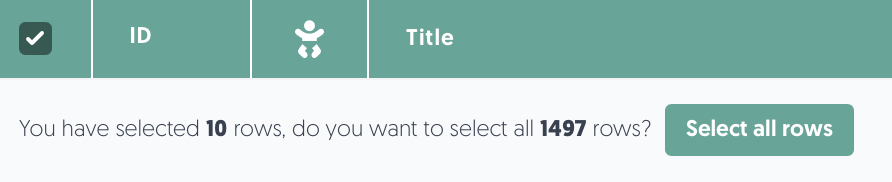
- Select: Check the box in the leftmost column to select a row. You can select all visible issues by checking the box in the header of the table. If you want to select all results, including ones on other pages, make sure to click Select all rows:
- Sort: Click on a column name to sort by that column. Note: sorting is not possible on some columns.
- Details: Hover or click on a data field to get more details.
Actions
You can find the actions menu ••• in the rightmost column. There, you will find the following menu options:
- Open control self-assessment: Open the self-assessment to start testing, validating or verifying internal controls.
Learn more about the internal control self-assessment process here: Self-assessment process - View control self-assessment: View the finished internal control self-assessment.
- Archive: Remove internal control assessment from view.
Note: internal control self-assessments are never fully deleted for auditing purposes.
Learn more about archived content here: Not available yet
Self-assessment process
0. Initiate internal control self-assessment
Step 0 in the internal control self-assessment process is to initiate the assessment. Otherwise, there is no assessment to conduct. There can be various triggers for conducting a control self-assessment, such as the testing schedule, as part of implementing a new control, an audit project, or an incident that signals a deficiency.
To initiate an internal control self-assessment:
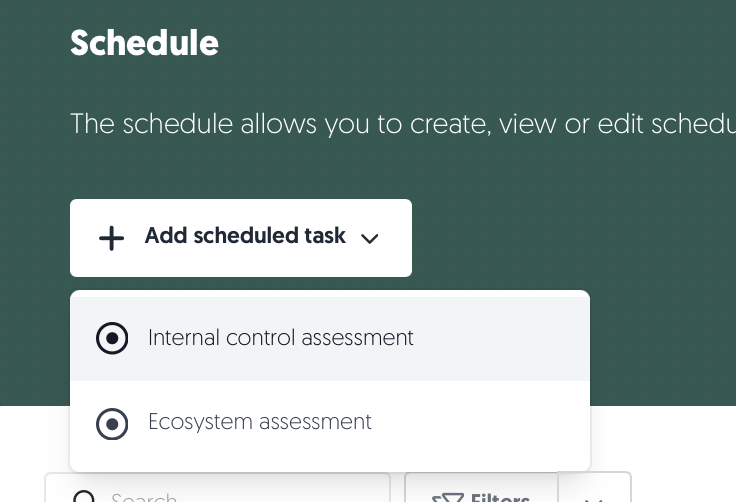
- Navigate via the Left menu: Schedule.
- Click + Add scheduled task, then Internal control assessment.
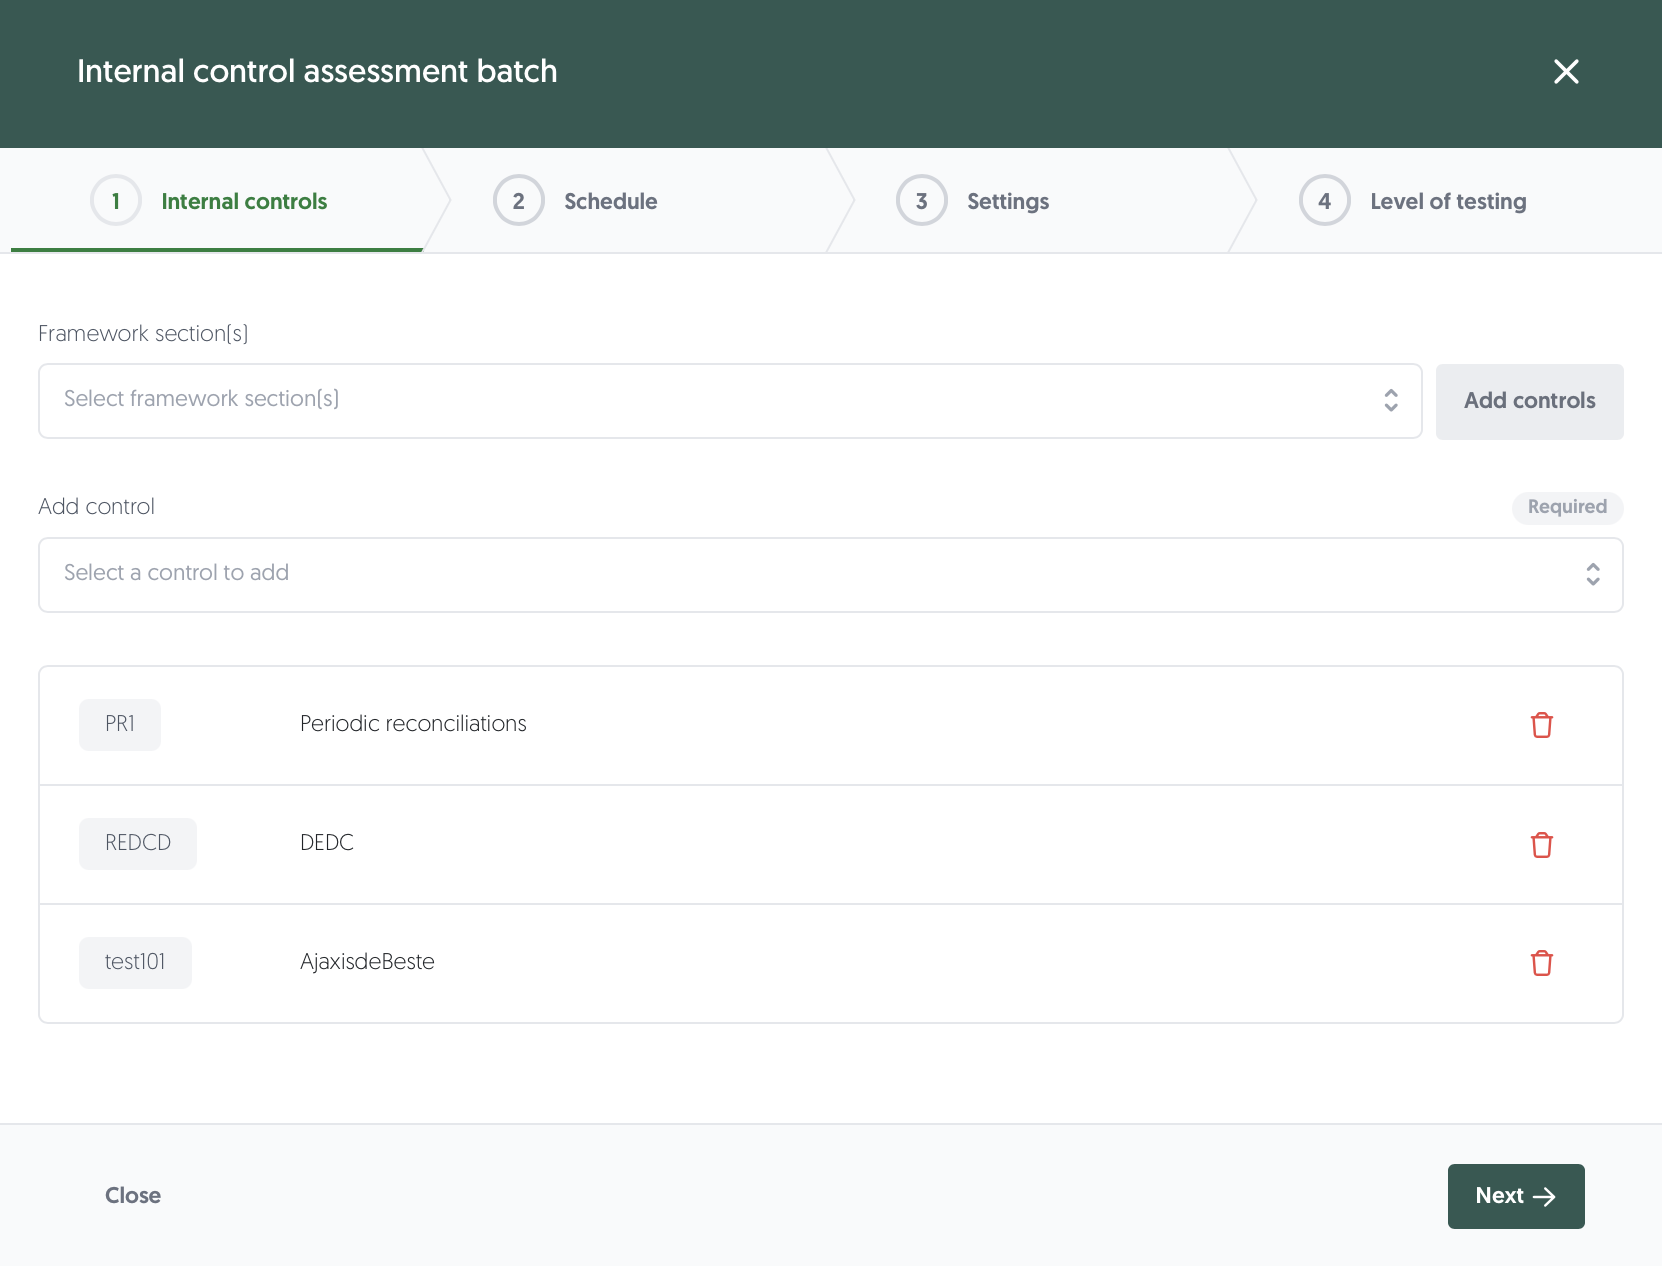
- Start by selecting which controls you want to assess by selecting them from the Add control menu. You can add all controls from a specific framework section by selecting it in the Framework section menu and clicking on Add controls.
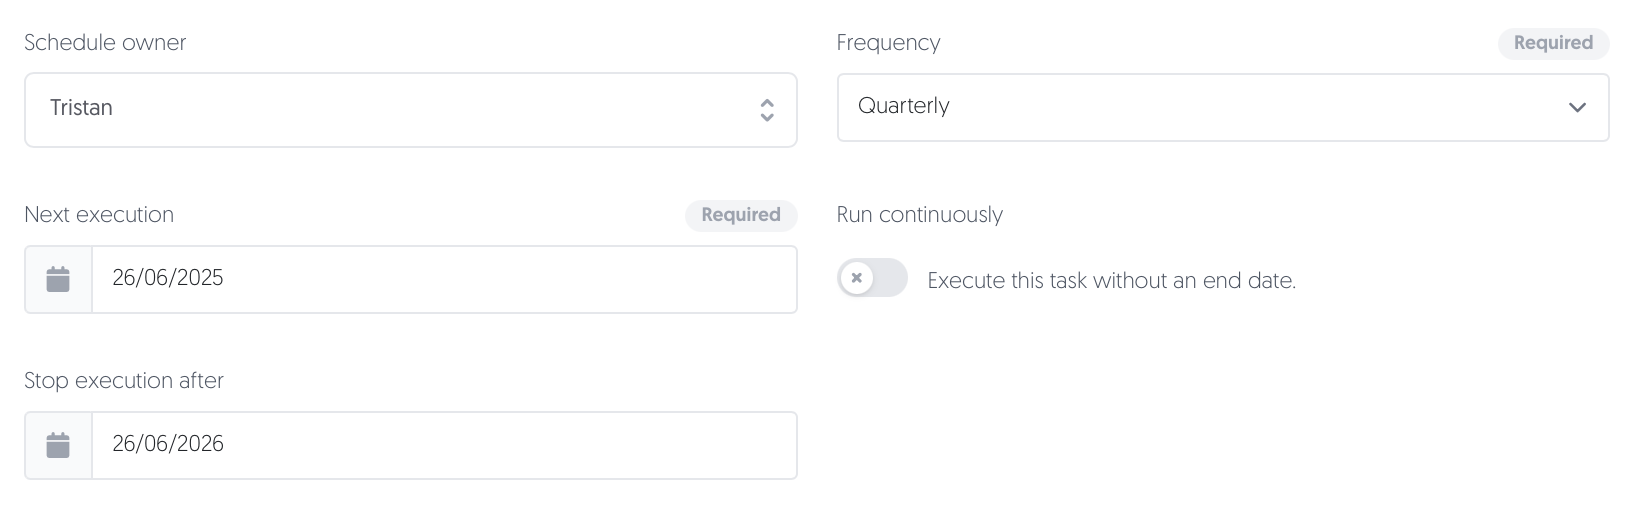
Learn more about frameworks here: Frameworks - Next, choose when you want the assessment to take place. You can schedule the execution for a future date or start it immediately. You can also set the assessment to recur automatically at regular intervals by setting the frequency. Assign a schedule owner to manage the planning.
In this example, the Internal control assessment batch is set to recur quarterly for one year. Tristan is in charge of keeping track of the schedule. - Fill in the rest of the details (i.e. Assessment name, Description, Tags).
- Add a reporting period to the assignment. This helps organise your internal assessments for reporting purposes. (reporting periods in configuration)
- Set the test period to designate the first and last day of the testing period, for instance, the previous quarter. It is recommended to set the test period to be the same length as the frequency of the assessments.
- After the test period, the self-assessment will initiate. Set an Execution offset for the amount days between the testing period and the self-assessment initiation. Set the Final due date offset to designate how many days after the test period the assessment (including validation and verification) has to be finished.
- Select the level of testing required for the assessment. Validation and verification might be additional compliance requirements for your internal control self-assessments. It is also possible to set the level of testing individually for each control in the last step. You can adjust the number of business days to complete validation and verification inside the circle.
- Click on Save. Your assessment has been scheduled or initiated immediately. When an assessment gets initiated, you can find it by navigating in the Left menu to: Internal control, then Testing.
Level of testing
During the control self-assessment configuration, you need to define the level of testing. Based on the level of testing, the internal control self-assessment will go through 1, 2, or 3 stages, each stage adding another Line of Defence (LoD):
- Stage 1 - Testing: The control self-assessment is performed by the business (1st LoD) without validation by risk (2nd LoD) and verification by internal audit (3rd LoD). After completion by the business, the control assessment will be closed.
- Stage 2 - Validation: The control self-assessment is performed by the business (1st LoD) including validation by risk (2nd LoD).
- Stage 3 - Verification: The control self-assessment is performed by the business (1st LoD), validated by risk (2nd LoD), and verified by internal audit (3rd LoD).
- The executor, validator and auditor that get assigned for the internal control assessment are set in the Edit control settings for a control. To edit, navigate via the Left menu: Control library and click on Edit control via the ••• button.
Learn more about the control library here: Control library
1. Perform internal control self-assessment
- The first step in the control self-assessment process is performing the control self-assessment (i.e., testing the control). This includes documenting the results and attaching the evidence. Upon initiating a control self-assessment, the control self-assessment will be submitted for testing.
- By default, as part of the platform's blueprint configuration, the control owner and control executor are invited by the platform's virtual officer to perform the control self-assessment.
To perform the self-assessment:
- Navigate via the Left menu: Internal control, then Testing. You will see all control self-assessments in the testing phase.
- For the internal control assessment you would like to open, click on the ••• button in the Actions column on the right-hand side of your screen.
- Click on Open control self-assessment.
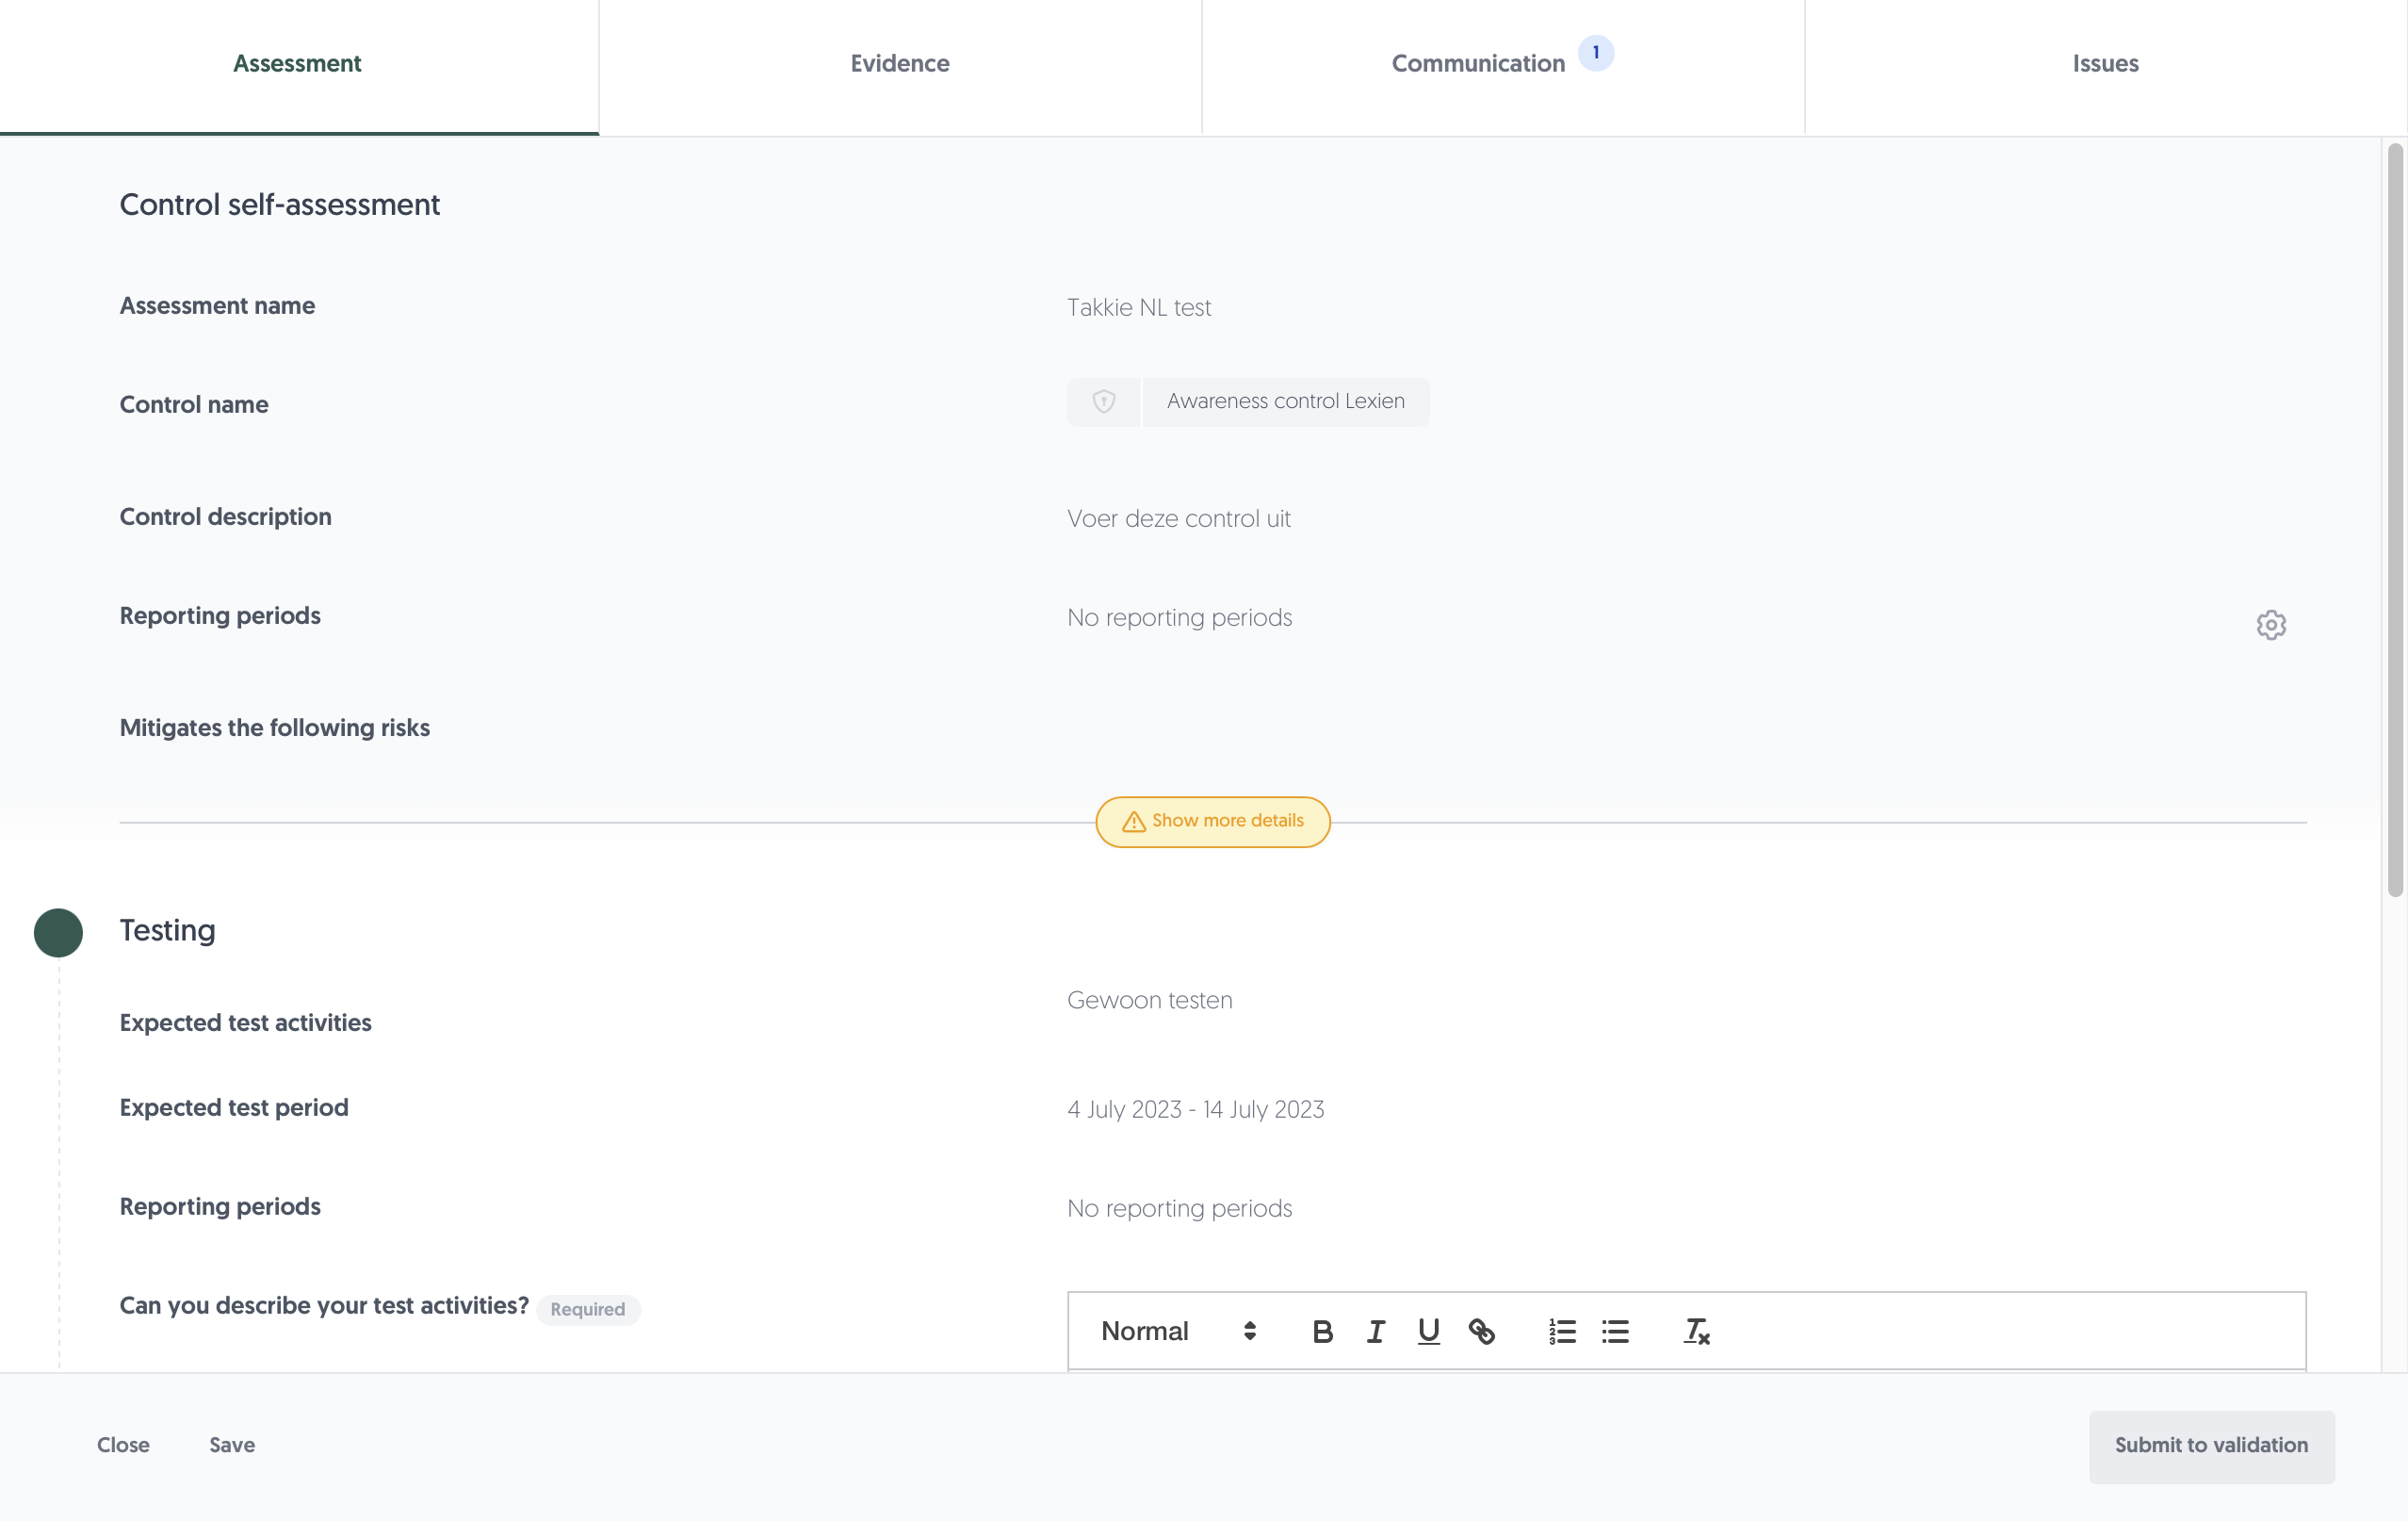
- You will see a new window showing you all the relevant information about the control self-assessment and the expected testing activities.
- To retrieve more information about the control and previous control self-assessment results, use the Show more details slider button. In case a control is tested before with a negative testing conclusion, this button will be colored amber.
- Describe your testing activities using the rich text editor. You can copy/paste screenshots in the text editor. In addition, you can quickly copy previous test activity.
- Upload additional relevant evidence to describe your test activities and substantiate your conclusion.
- Use the dropdown to indicate your conclusion. You have four options: effective, not effective, new control or not tested during this period. Based on your conclusion, you will be kindly nudged to perform certain activities.
- Use the additional tabs:
- The Evidence tab gives an overview of all the evidence attached to the control self-assessment during the testing, validation and verification stages. You can easily add evidence at every stage of the control self-assessment process.
- The Communication tab allows you to chat with your colleagues about the control self-assessment. Click on a suggested colleague to notify them of your comment. Hover over them to see their specific roles.
- The Issues tab can be used to effectively follow up on control deficiencies.
Learn more about follow-up on control assessments here: Follow-up
- Click on Submit to finish performing the control self-assessment. On submitting, the assessment enters the next phase. Based on the level of testing that was configured during the initiation, this can be validation or finish assessment.
2. Validate internal control self-assessment
- The second step in the control self-assessment process is validating the results and conclusion of the control self-assessment. Validation is an optional step and is dependent on the level of testing that was configured during the control self-assessment initiation.
- The control validator is responsible for validating the conclusion of the control self-assessment. This is usually somebody working in a risk management function.
To validate the self-assessment:
- Navigate via the Left menu: Internal control, then Validation. You will see all control self-assessments in the validation phase.
- For the internal control assessment you would like to open, click on the ••• button in the Actions column on the right-hand side of your screen.
- Click on Open control self-assessment.
- You will see a new window showing you all the relevant information about the control assessment, performed testing activities and the expected validation activities of said testing.
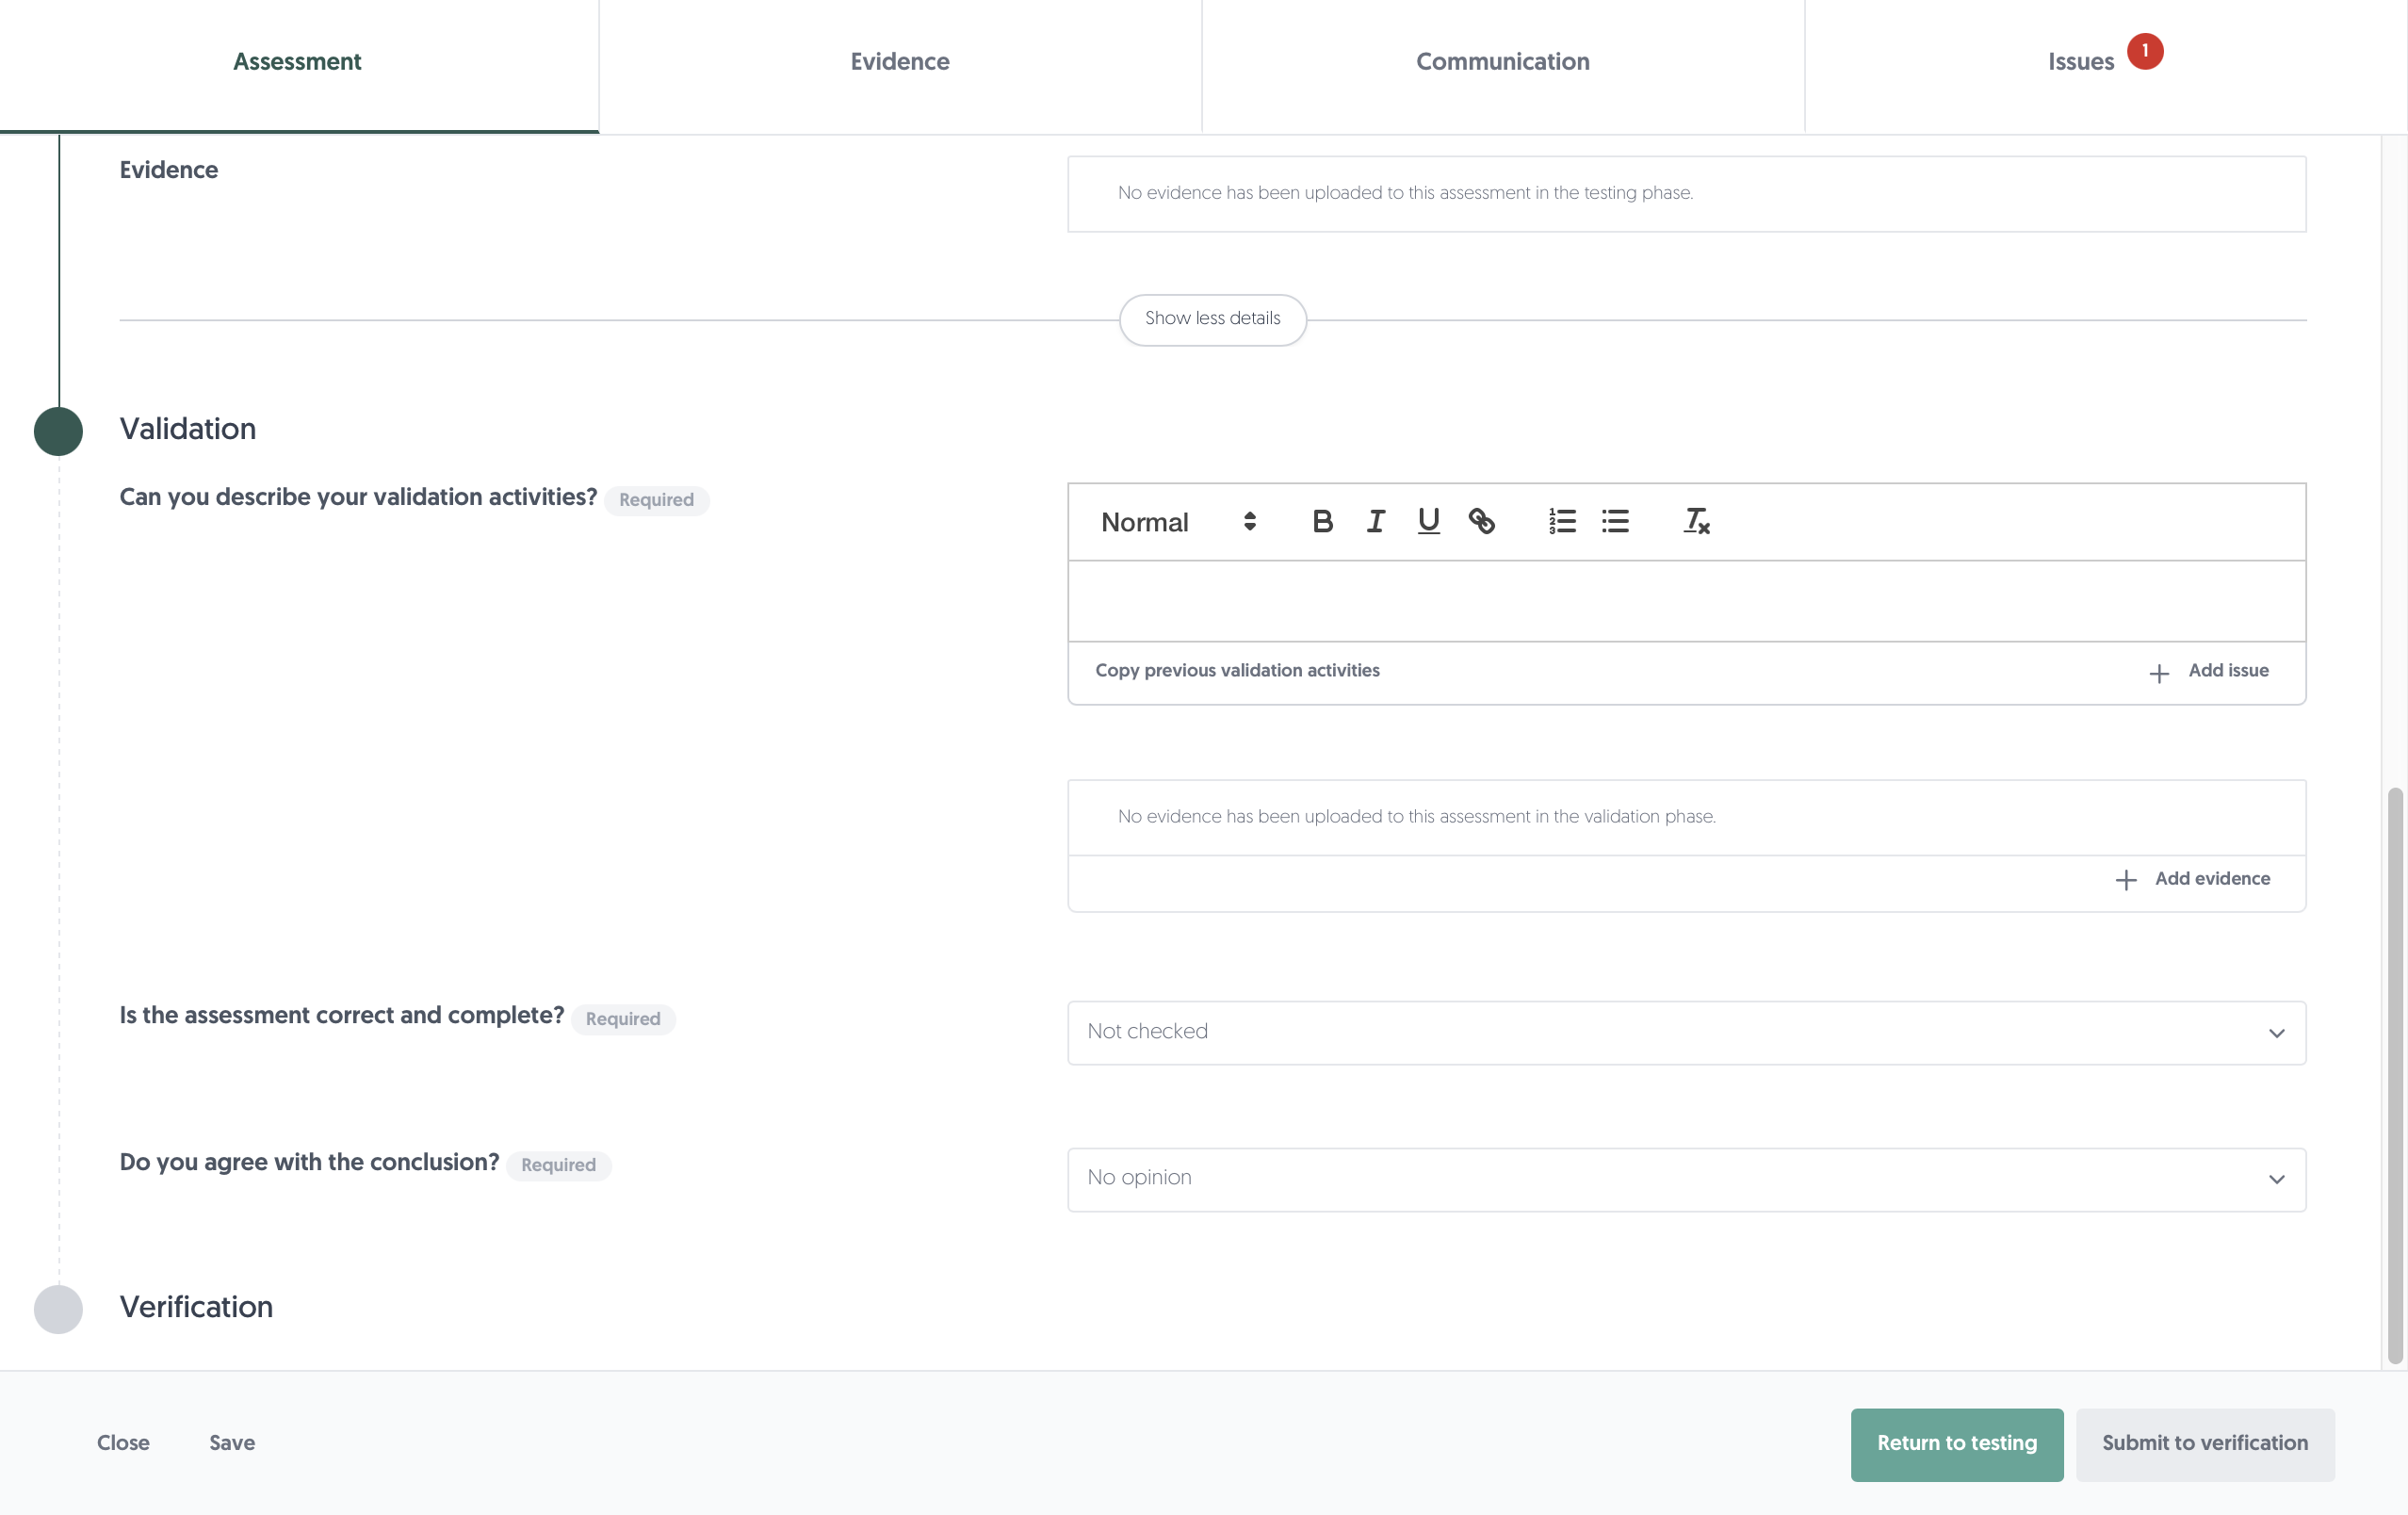
- Describe your validation activities using the rich text editor. You can copy/paste screenshots in the text editor. In addition, you can quickly copy previous validation activities.
- Upload additional relevant evidence to describe your test activities and substantiate your validation of the assessment.
- Use the dropdown to indicate whether the control self-assessment was correct and complete and whether you agree with the conclusion. Based on your conclusion, you will be kindly nudged to perform certain activities.
- Use the additional tabs:
- The Evidence tab gives an overview of all the evidence attached to the control self-assessment during the testing, validation and verification stages. You can easily add evidence at every stage of the control self-assessment process.
- The Communication tab allows you to chat with your colleagues about the control self-assessment. Click on a suggested colleague to notify them of your comment. Hover over them to see their specific roles.
- The Issues tab can be used to effectively follow up on control deficiencies.
Learn more about follow-up on control assessments here: Follow-up
- If the assessment was incorrect or incomplete or you don't agree with the conclusion, click on Return to testing to push back the assessment to the previous phase. You will be asked to provide an explanation of why you are returning the assessment.
- Click on Submit to finish validating the control self-assessment. On submitting, the assessment enters the next phase. Based on the level of testing that was configured during the initiation, this can be verification or finish assessment.
3. Verify internal control self-assessment
- The third step in the control self-assessment process is verifying the validation by the control validator.
- Verification is an optional step and is dependent on the level of testing that was configured during the control self-assessment initiation. The control auditor is responsible for performing the final verification check. This is usually somebody working in an internal or external audit function.
To verify the self-assessment:
- Navigate via the Left menu: Internal control, then Verification. You will see all control self-assessments in the verification phase.
- For the internal control assessment you would like to open, click on the ••• button in the Actions column on the right-hand side of your screen.
- Click on Open control self-assessment.
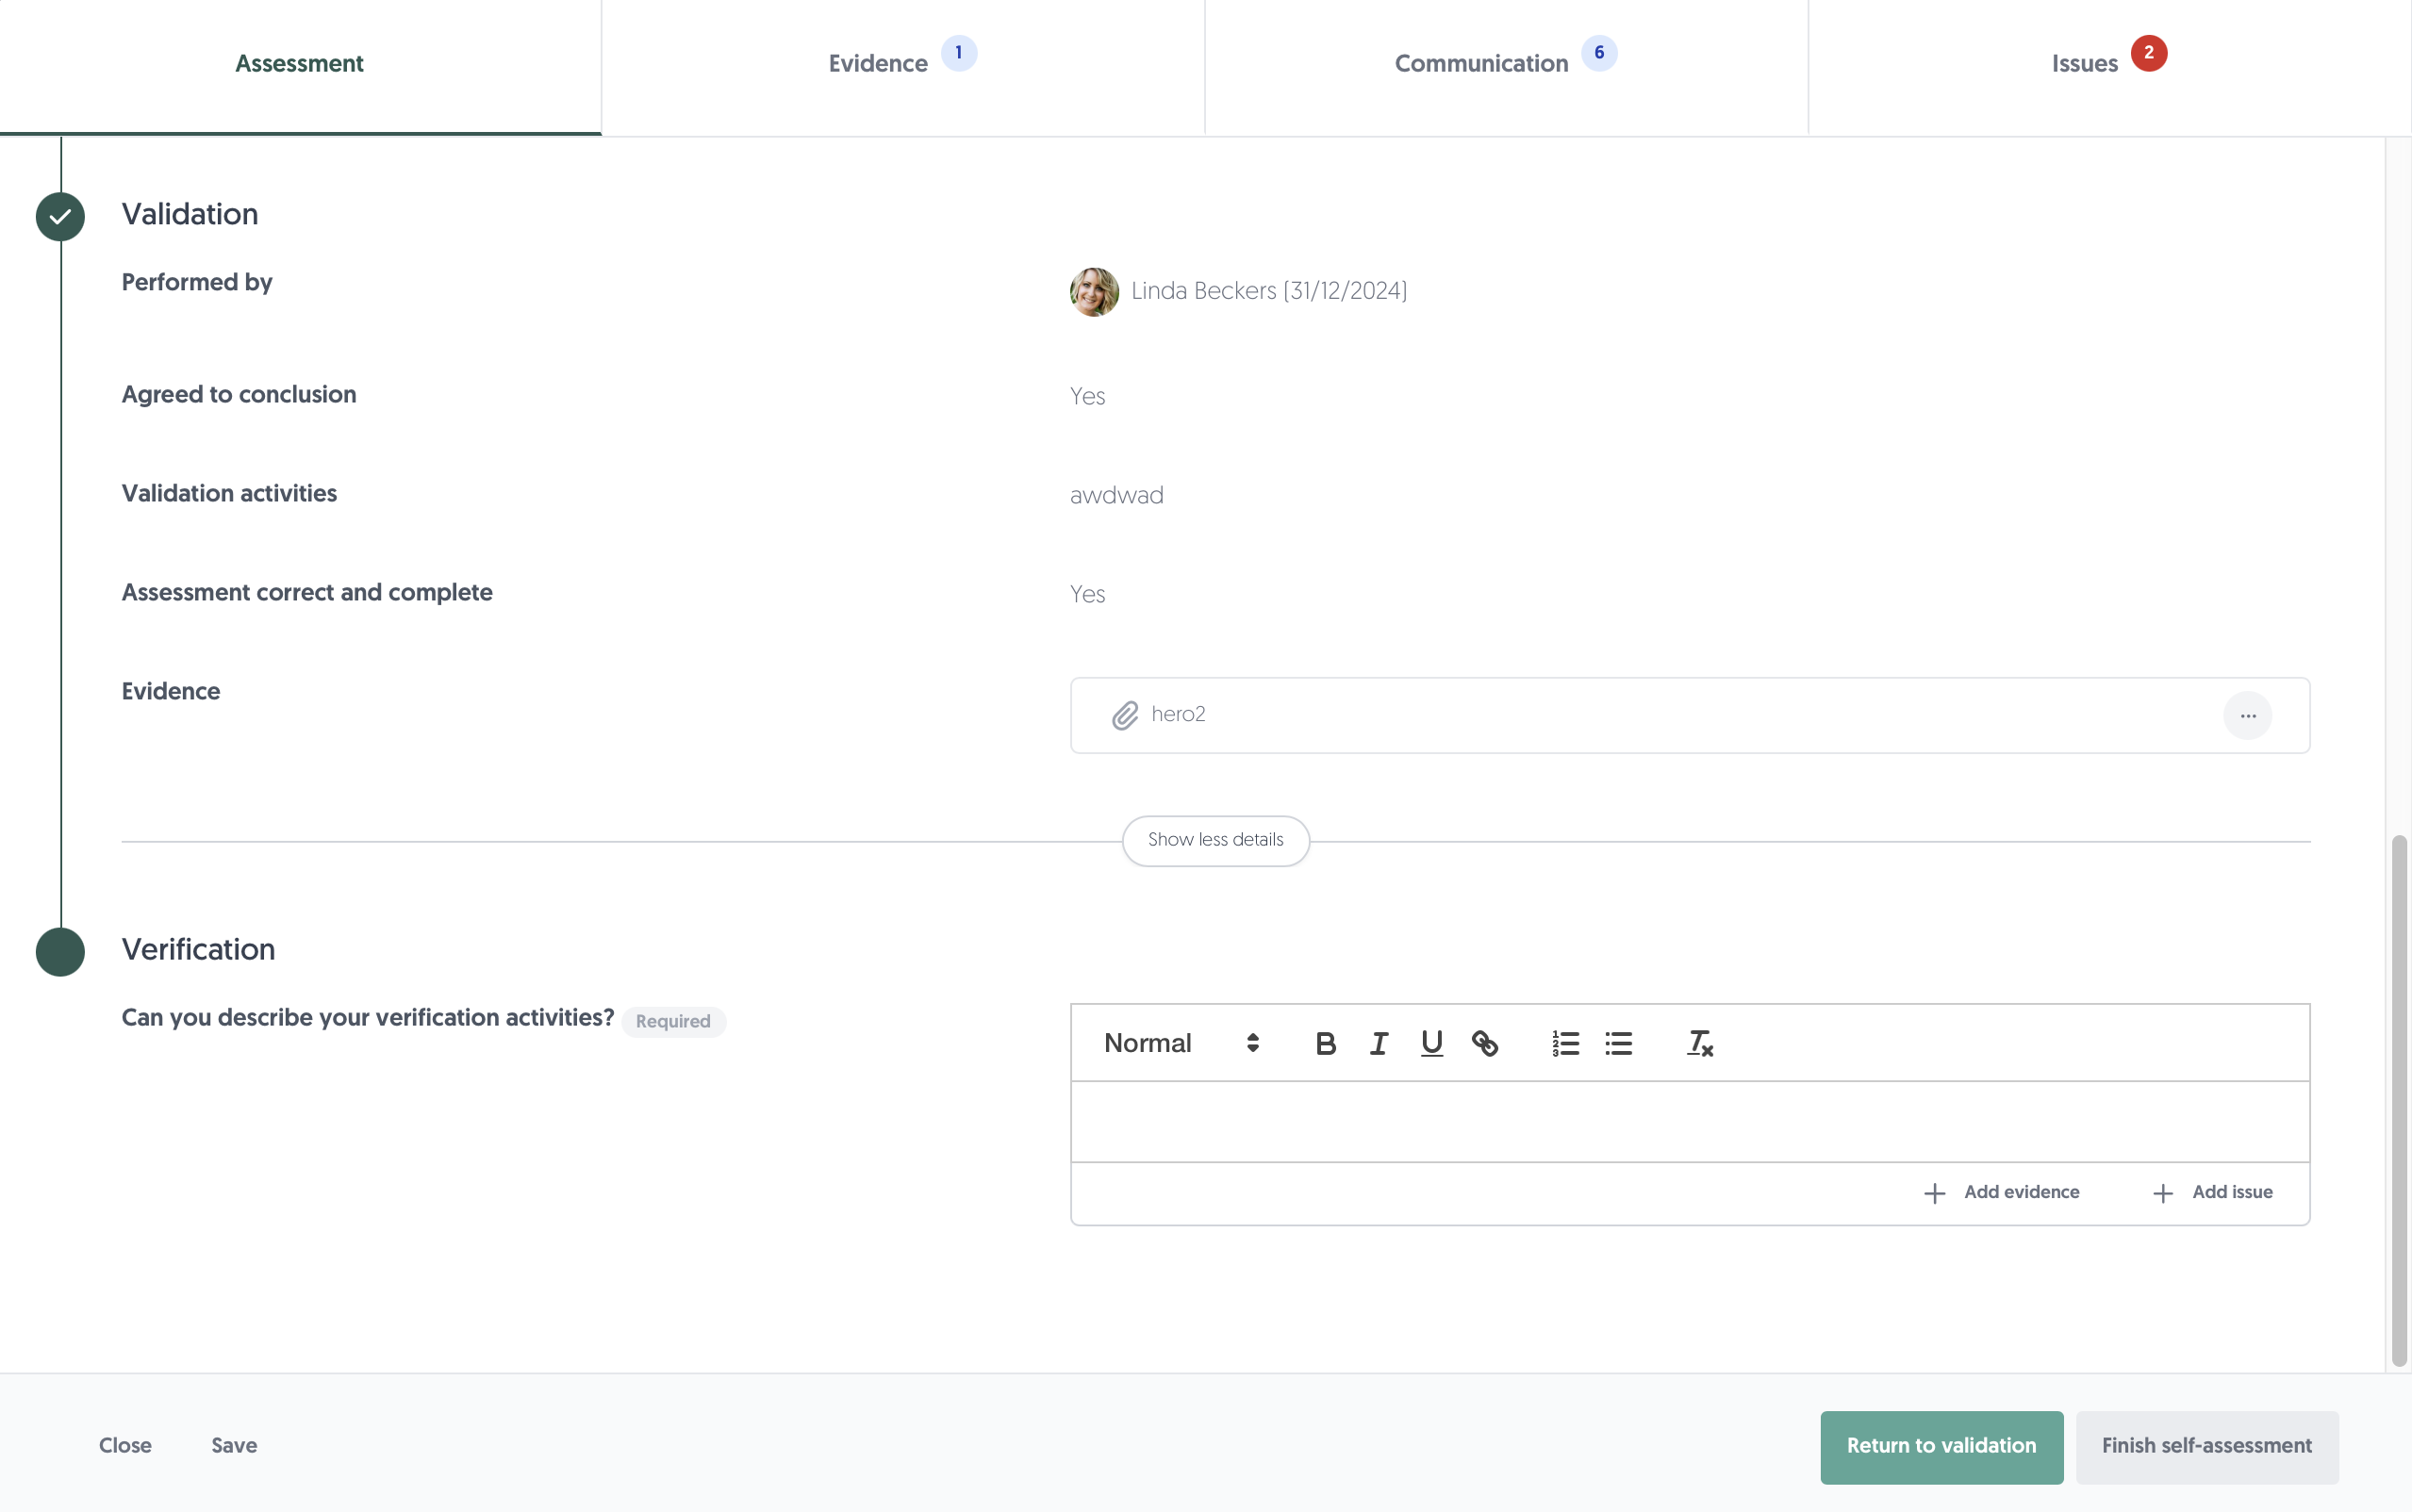
- You will see a new window showing you all the relevant information about the control assessment, performed testing and validation activities.
- Describe your verification activities using the rich text editor.
- Upload additional relevant evidence to describe your test activities and substantiate your verification of the assessment.
- Use the additional tabs:
- The Evidence tab gives an overview of all the evidence attached to the control self-assessment during the testing, validation and verification stages. You can easily add evidence at every stage of the control self-assessment process.
- The Communication tab allows you to chat with your colleagues about the control self-assessment. Click on a suggested colleague to notify them of your comment. Hover over them to see their specific roles.
- The Issues tab can be used to effectively follow up on control deficiencies.
- If you don't agree with the conclusion of the validation, click on Return to validation to push back the assessment to the previous phase. You will be asked to provide an explanation of why you are returning the assessment.
- Click on Submit to finish verifying the control self-assessment. The internal control self-assessment process is now finished. You can find the finished Internal control self-assessment via the Left menu: Internal control, then Finished.
Follow-up on control self-assessment
At every stage of the control self-assessment - whether the control self-assessment is in testing, validation, or verification stage - one or more Issues can be linked to the control self-assessment. Issues can be used to document and keep track control deficiencies.
- You can associate an existing issue or create a new one in the Issues tab.
- Create or link an action plan to an existing issue to track and resolve the issue, assign a person to act and set a deadline.
- Using issues and action plans keeps all communication in one central, traceable place.
Learn more about issues and action plans here: Issues