Users
Managing who has access to what is a critical part of any risk management strategy. Proper authorisation ensures sensitive data stays protected and responsibilities are clearly assigned and traceable. This article explains everything you need to know about authorisation management within 3rdRisk, including how to invite users, assign roles, set permissions, and configure access domains to ensure secure and compliant access control.
Looking for your own user settings?
Learn more about user settings: User settings
Overview
This overview breaks down all there is to know about authorisation management within 3rdRisk. Authorisation management in the platform is built on three key elements:
- Users: The centre of any platform. On the Users page, you can manage the individual accounts and assign roles and access domains.
- Roles: You can think of roles as a set of permissions. On the Roles page, you can manage your roles and assign permissions to roles. Users have one or more roles.
- Access domains: Access domains offer a flexible way to grant or restrict access to specific user groups. They are used throughout the platform to control user access to records based on the assigned domain.
1. Users
Let's walk through the User page, from top to bottom. Navigate to: Left menu: Configuration, then Users.
Invite a user
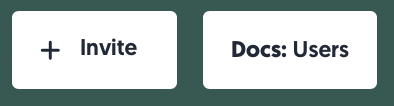
- At the top of the page, you can invite a new user to the platform: + Invite.
- You will also find a quick link to this article using the button Docs: Users.
To invite a new user to the platform:
- Navigate to: Left menu: Configuration, then Users.
- Click on + Invite.
- Provide the account details.
| Field | Explanation |
| Name | Full name (first name, last name). |
| Business e-mail address. This cannot be changed. | |
| Job title | Official internal job title(s). |
| Job description (optional) | Optional internal field to provide some additional context to this colleague. This field does not have any functionality in the platform. |
| Access domains (optional) | Assign the relevant access domain(s). Access domains can be added and removed later. Learn more about assigning access domains here: Assigning access domains |
| Roles | Assign at least one role. Roles can be added and removed later. Learn more about assigning roles here: Assigning roles |
4. The user receives an e-mail invitation to join the platform.
Table
The User table gives you a detailed overview of all existing users, including their roles, access domains, 2-factor Authentication (2FA), integrations (e.g. Microsoft Teams) and their activity.
Search, filter, and export

Above the table, you will find options to search, filter, and export. From left to right:
- Search: You can search by name, email address and job title.
- Clear search: Quickly clear your search field and stop searching using this button.
- Filters: Apply filters using this button. If any filters are active, the text will change to Filters applied.
- Saved filters (↓ down arrow): You will find your saved filter sets here, as well as a button to save your current set of filters.
- Clear filters (strikethrough funnel): This will clear all filters, including any text in the search field.
- Export: Export the access log that records all log-ins to the platform to an Excel file.
- Full platform access log: This exports the entire access log.
- 30 days platform access log: This exports the access log for the last 30 days.
- Number of rows per page: Choose the amount of rows you want displayed per page in the table.
Interacting with the table
- Details: Hover or click on a data field to get more details.
Actions
You’ll find the actions menu (•••) on the right side of each row. Available actions include:
- Edit user: Update user information, including roles and access domains.
Learn more about updating users: Update user - Reset 2FA: When a user has activated 2-factor authentication but has lost their 2FA device, you can reset (i.e. disable) 2FA for the user.
- Archive: Revoke all access to the platform. All assigned roles and access domains will be removed. Note: any assigned ownerships (e.g., risk officer, reviewer, owner) will remain intact for auditing purposes. Archived users can be found by filtering on 'is archived'.
- Login as user: Log out of your current session and log in as the user. The user will receive a notification of this action by email. Use this if a user needs assistance with an issue that requires you to see or test something from their perspective directly.
Update a user
To update a user:
- Navigate to: Left menu: Configuration, then Users.
- For the user you would like to update, click on the ••• button in the Actions column on the right-hand side of the table.
- Update the account details, such as assigning a new role or access domain or changing the job title.
Learn more about roles or access domains: Roles & Access domains - Click on Save.
Single Sign-on (SSO)
Within the 3rdRisk platform, you can easily connect your Azure AD or Okta setup. This provides an additional security layer and allows you to perform user management lifecycle management efficiently.
Learn more about setting up SSO: Single Sign-on (SSO)
Deactivate a user using SSO
The user will automatically be deactivated when using one of the supported single-sign-on solutions. Contact your local IT team for support.
2. Roles
3rdRisk has various predefined user roles to ease your authorisation management efforts. We have two types of role groups: Ecosystem (TPRM) and Internal control roles. The predefined roles are commonly used within most of today's organisations, and are easy to assign within your team of (risk) professionals. That being said, roles are entirely customisable to suit your organisation's needs.
Learn more about predefined roles Predefined roles
Roles can be assigned platform permissions. These permissions pertain to specific parts of the platform, such as the third-party catalogue or risk register. Permissions influence whether you have access to specific pages, functionalities and actions on the platform.
Let's walk through Roles from top to bottom. Find Roles by navigating to Left menu: Configuration, then Roles.
Create Role
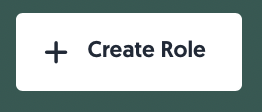
- At the top of the page, you can create a new role: + Create Role.
- You will also find a quick link to this article using the button Docs: Roles.
To create a new role:
- Navigate to: Left menu: Configuration, then Roles.
- Click on + Create Role.
- Provide the role details. Optionally, select a role type and import permissions from another role, such as the predefined roles.
New features with new permissions release regularly. Enable 'Automatically update role with new permissions' if you want these new features automatically assigned when they release. - Assign permissions by selecting which operations users with this role can perform.
- Click on Save.

Predefined roles
There are predefined roles related to the Ecosystem (TPRM) module and Internal Control module separately, although they might have overlapping permissions. These predefined roles will quickly help you assign platform responsibilities for your organisation. Below you will find an overview of the roles for both modules. Note: you can assign more than one role to a user, even between modules. However, some roles/permissions cannot be granted in conjunction because SoD would be violated and risk exposure increased.
Ecosystem (TPRM) roles
For the 3rdRisk Ecosystem module, you will find the following predefined roles:
| Role | Description |
| Administrator ecosystem | The administrator ecosystem manages your 3rdRisk organisation profile and online environment. This role should be assigned to a limited amount of colleagues. Administrators are commonly part of the buying group(s) of 3rdRisk. It does not have to be a colleague with a technical profile, but knowledge about risk & compliance processes is preferred. |
| Third-party manager | The third-party manager manages the relationship with one or more third parties. These are commonly colleagues from procurement, strategic buying departments, and third-party teams. |
| Risk officer | The risk officer performs (third-party) risk management & compliance activities. These are colleagues from ERM, Internal Control, Compliance, Cybersecurity, Privacy, Sustainability, and Quality. |
| Risk manager | The risk manager is responsible for the overall (third-party) risk management & compliance program. These are commonly the manager(s) of the involved risk officers. |
| Ecosystem reviewer | The ecosystem reviewer is an internal employee that is performing reviews on executed assessments. Typically you assign this role to all risk officers. Still, this role can also be used for specific SMEs within your organisation that you might consult for reviewing third-party responses. Typical examples are legal counsels and architects. |
| External reviewer | The external reviewer is an external individual performing reviews on executed assessments. If you work with external SMEs (e.g. lawyers) or an external workforce to support you with reviewing your third-party risk assessments, you can assign them this limited role. |
| External auditor | The external auditor independently reviews and validates the (third-party) risk management program. This role can be used by both your internal and external auditors. Due to the independence and level of rights, this role should not be shared with other roles. |
| Business manager | The business manager is responsible for the business process or product provided by one or more third parties. There are commonly department managers and contract owners/delegates. |
| Leadership | Leadership is ultimately accountable for the organisation and associated third parties. These are commonly your board of management, entity directors, country directors, SVP - anyone that receives aggregated reporting and can be used for escalations. |
Internal control roles
For the 3rdRisk platform internal control module, you will find the following predefined roles:
| Role | Description |
| Administrator internal control | The administrator internal control manages your 3rdRisk organisation profile and online environment. This role should be assigned to a limited amount of colleagues. Administrators are commonly part of the buying group(s) of 3rdRisk. It does not have to be a colleague with a technical profile, but knowledge about internal control processes is preferred. |
| Control executor - 1st line | The control executor is an internal employee who can perform test activities on a control self assessment. The control executor can also create/modify risks and controls. This are commonly employees of a certain department in an organisation who can be either the control owner, tester or both. |
| Control validator - 2nd line | The control validator is an internal employee who validates the performed test activities of the control executor. The control validator can also create/modify risks and controls and is able to initiate a controls self assessment. This are commonly employees from controlling departments, risk officers, compliance officers and all other employees with a 2nd line function. |
| Internal auditor - 3rd line | The control auditor is an internal employee who verifies the performed test activities and validation. The control auditor can also create/modify risks and controls, is able to initiate a controls self assessment, plan assessments and can adjust frameworks. This are commonly employees from audit departments. |
| Internal control manager | The internal control manager is an internal employee with reading rights to all data (controls, risks, assessments etc.) and is able to initiate a control self assessment. |
Initial user
The initial user created during the onboarding phase will, by default, receive the Administrator role. This is done to make it easier for a single user to set up and explore the entire platform.
Minimum required roles
Based on your functionality needs and the size of your organisation, you have the option to only use a small selection of these predefined roles to get started. This incorporating multiple roles into one by manually granting permissions.
Please contact us if you need help via the chat bubble or 3rdRiskSupport@diligent.com
Start simple
It's advised not to try onboarding all your colleagues and assigning all roles on day 1. The best practice is to start with a limited set of users with a few roles to understand the platform entirely. You can always add more users and start using additional roles at a later stage.
Assign roles to users
Assign or remove roles by updating the user information. Click on the ••• button in the Actions column in the Users table and select the roles you want to assign.
Learn more about updating users: Update user
3. Access Domains
Access domains offer a flexible way to restrict access to specific records to a subset of users.
You can find access domains by navigating to the Left menu: Configuration, then Access domains.
Create access domain
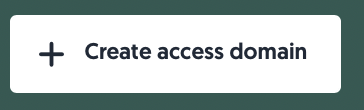
- At the top of the page, you can create a new access domain: + Create Access Domain.
Restricting access using access domains
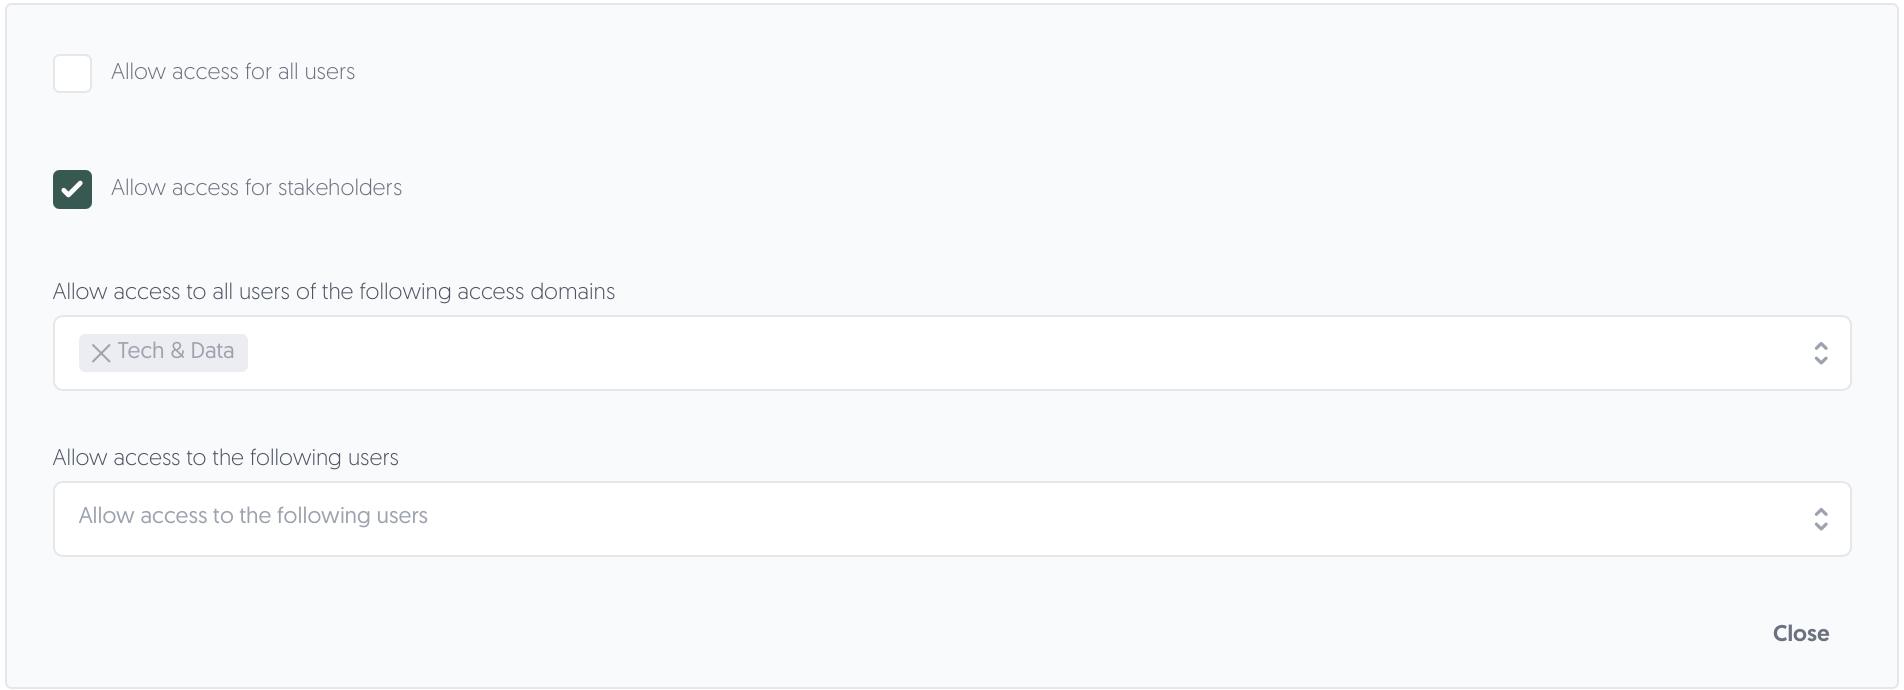
In many parts of the platform, you will find the option to restrict access to the record you are creating or updating. Whenever you see the lock, you can assign an access domain to the record.

By unfolding the window, you may allow access only to the access domains or users you select. Access domains function as a way to group users into easily selectable subsets (e.g. Finance or Legal).
Assign access domains to users
Assign or remove access domains by updating the user information. Click on the ••• button in the Actions column in the Users table and select the access domains you want to assign.
Learn more about updating users: Update user