
How to enable multi-factor authentication (MFA) on your assessment
An assessment is opened with a personal link and a passcode you receive by e-mail. Multi-factor authentication (MFA) adds a second step on top of that passcode: a six-digit code from an authenticator app on your phone, which changes every 30 seconds. Anyone who only has your link and passcode can then no longer open the assessment.
You switch MFA on yourself, from inside the assessment. Nobody at the organisation that sent it has to do anything for you, and you can switch it off again whenever you need to.
Overview
MFA is set per person, per assessment. The control sits on the Welcome page of the assessment, as a banner just under the introduction text, and it has two states:
- Activate Multi-Factor Authentication (MFA) for an additional security layer — MFA is off. Click the banner to open the activation panel.
- Multi-Factor Authentication (MFA) as additional security layer activated — MFA is on, and the banner's icon and left edge are green. Click it to open the deactivation panel.
Note: some organisations require MFA on every assessment they send. When that is the case you can see the Welcome page, but you cannot open the questionnaires until you have activated MFA.
Learn more about the assessment portal itself: 3rdRisk assessment
Before you start
You need an authenticator app on your phone. Any app that supports time-based one-time passwords (TOTP) works, including the password manager you may already use. Two free and widely used options:
They are all considered secure and work in the same way, so use whichever you prefer. The steps below describe the part that happens in 3rdRisk; the wording inside your app differs slightly per app.
Activate MFA on your assessment
1. Open the assessment with the personal link from your invitation e-mail, and enter the passcode from the second e-mail. Click on Sign in.
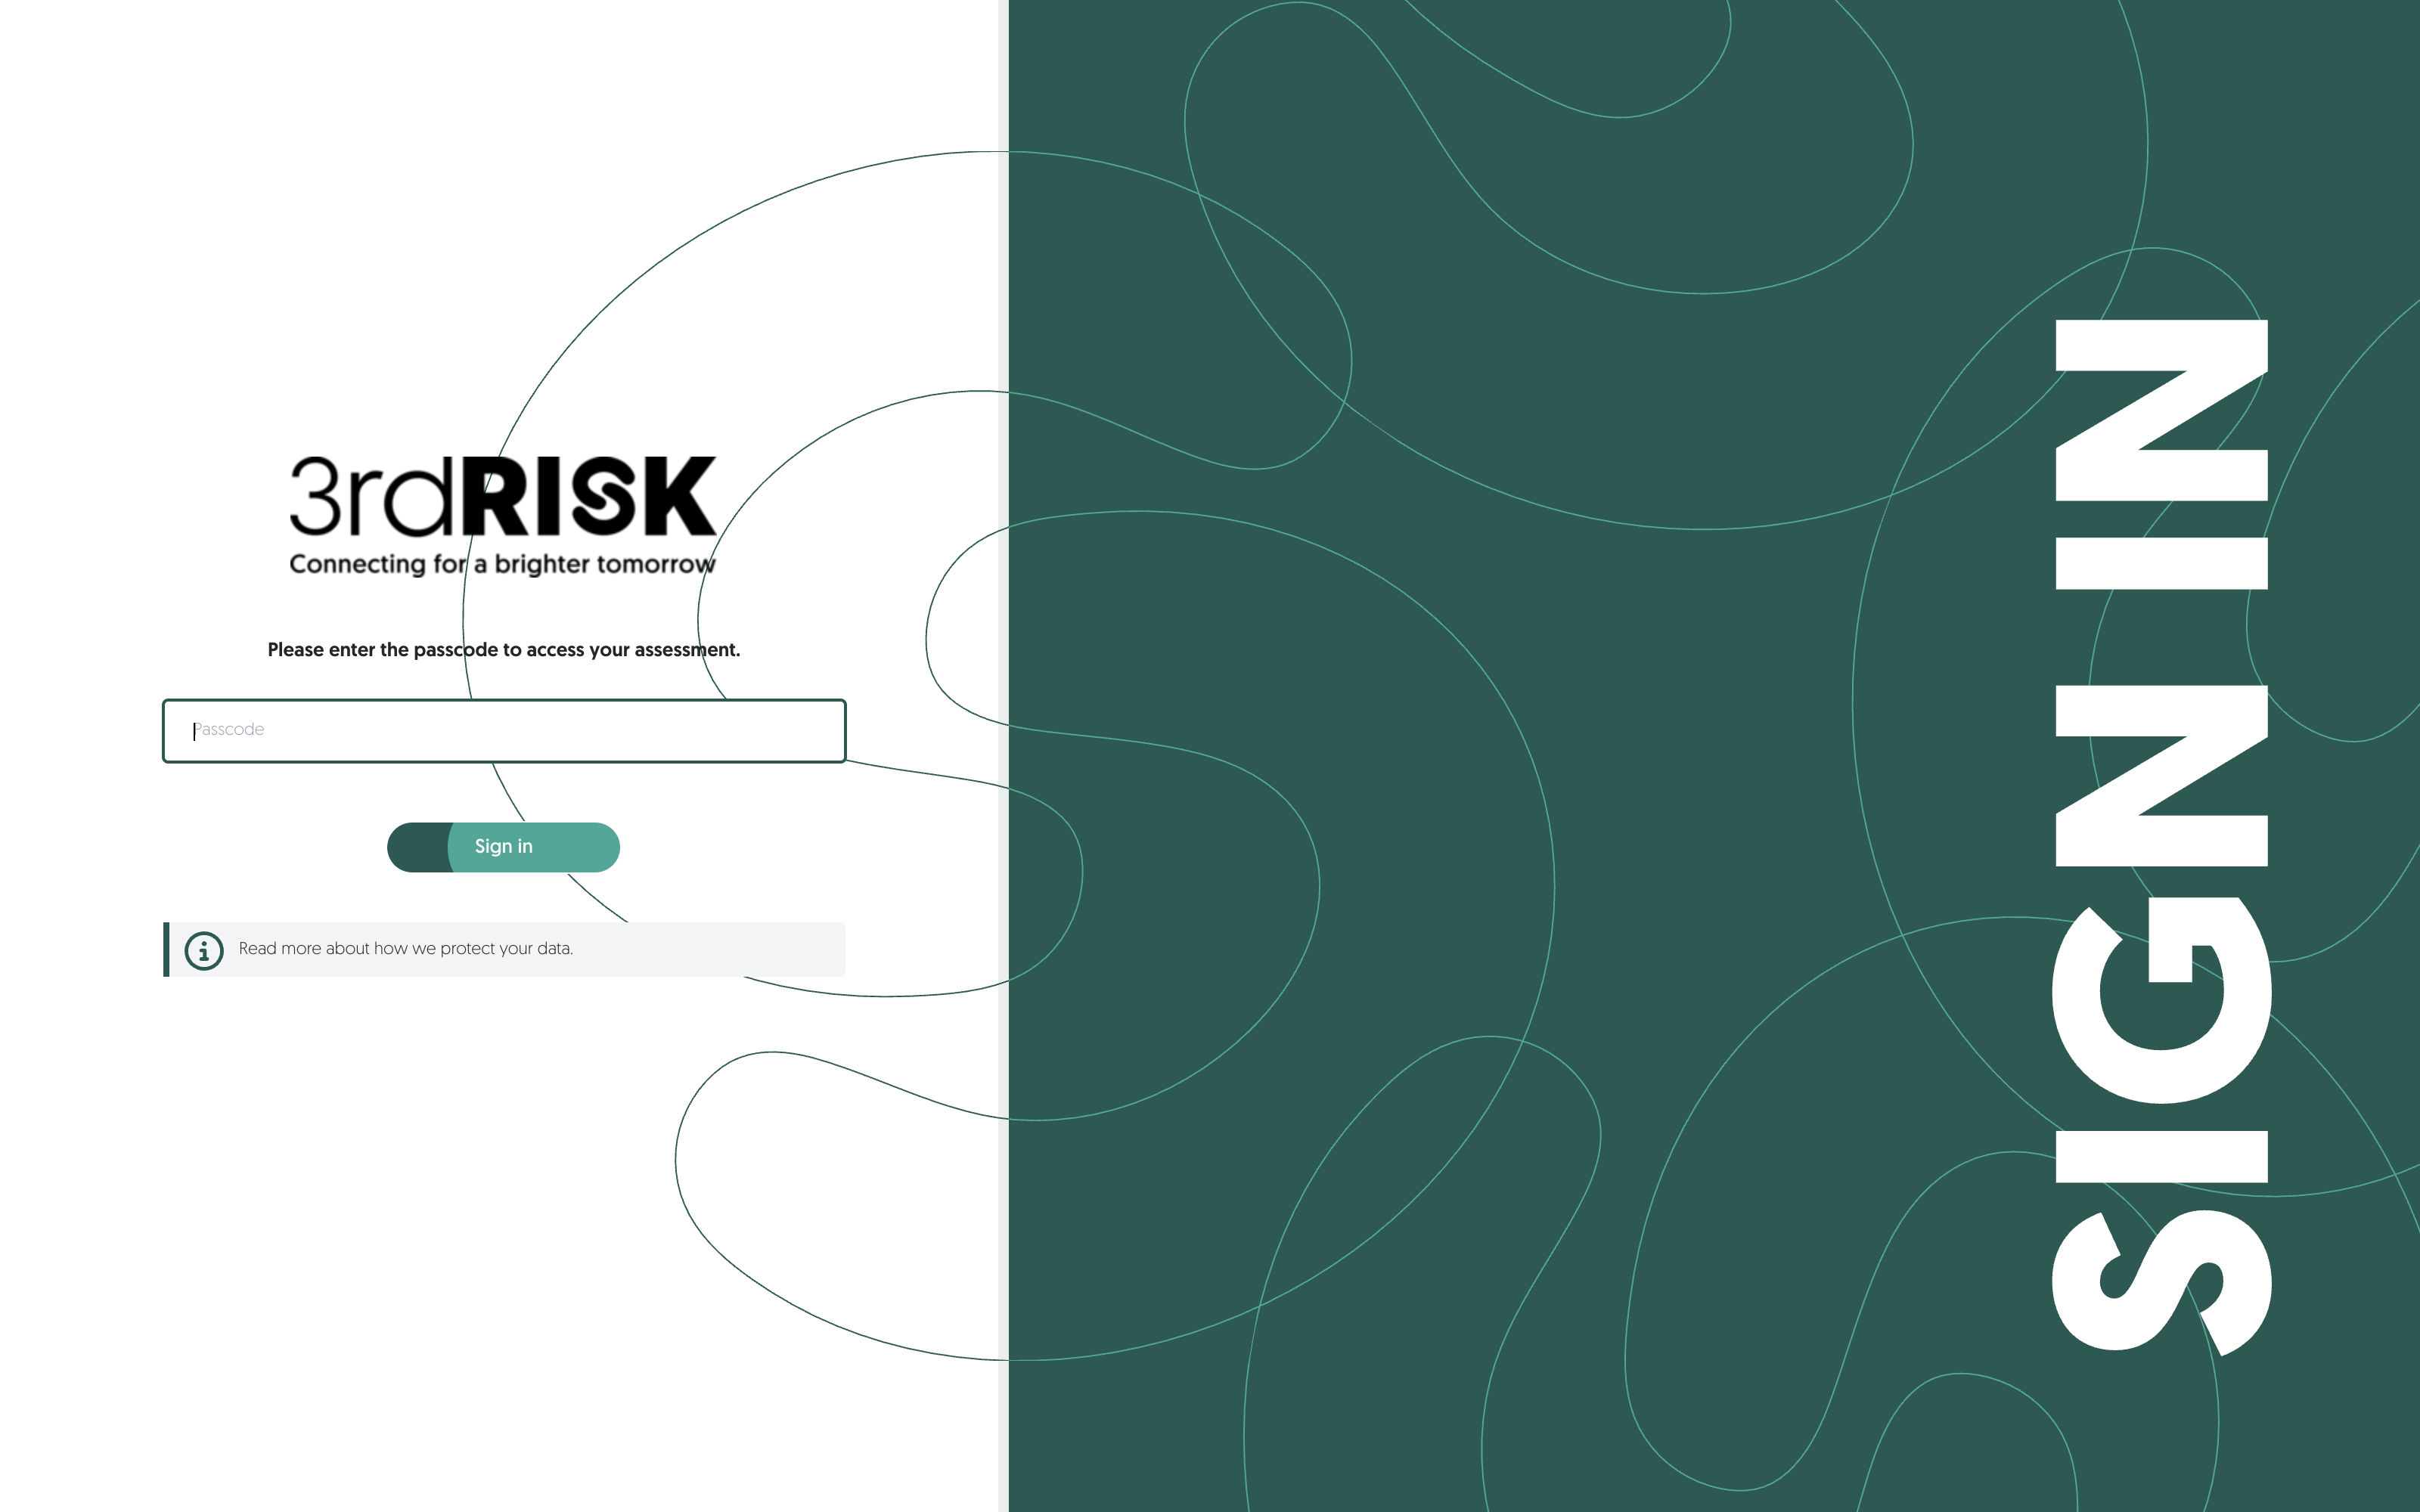
Note: the colours, the logo and some of the wording are set by the organisation that sent you the assessment, so your screen may look different from the examples in this article.
2. On the Welcome page, find the banner Activate Multi-Factor Authentication (MFA) for an additional security layer and click it.

3. The panel opens and shows a barcode (QR code) and a field for the authentication code.
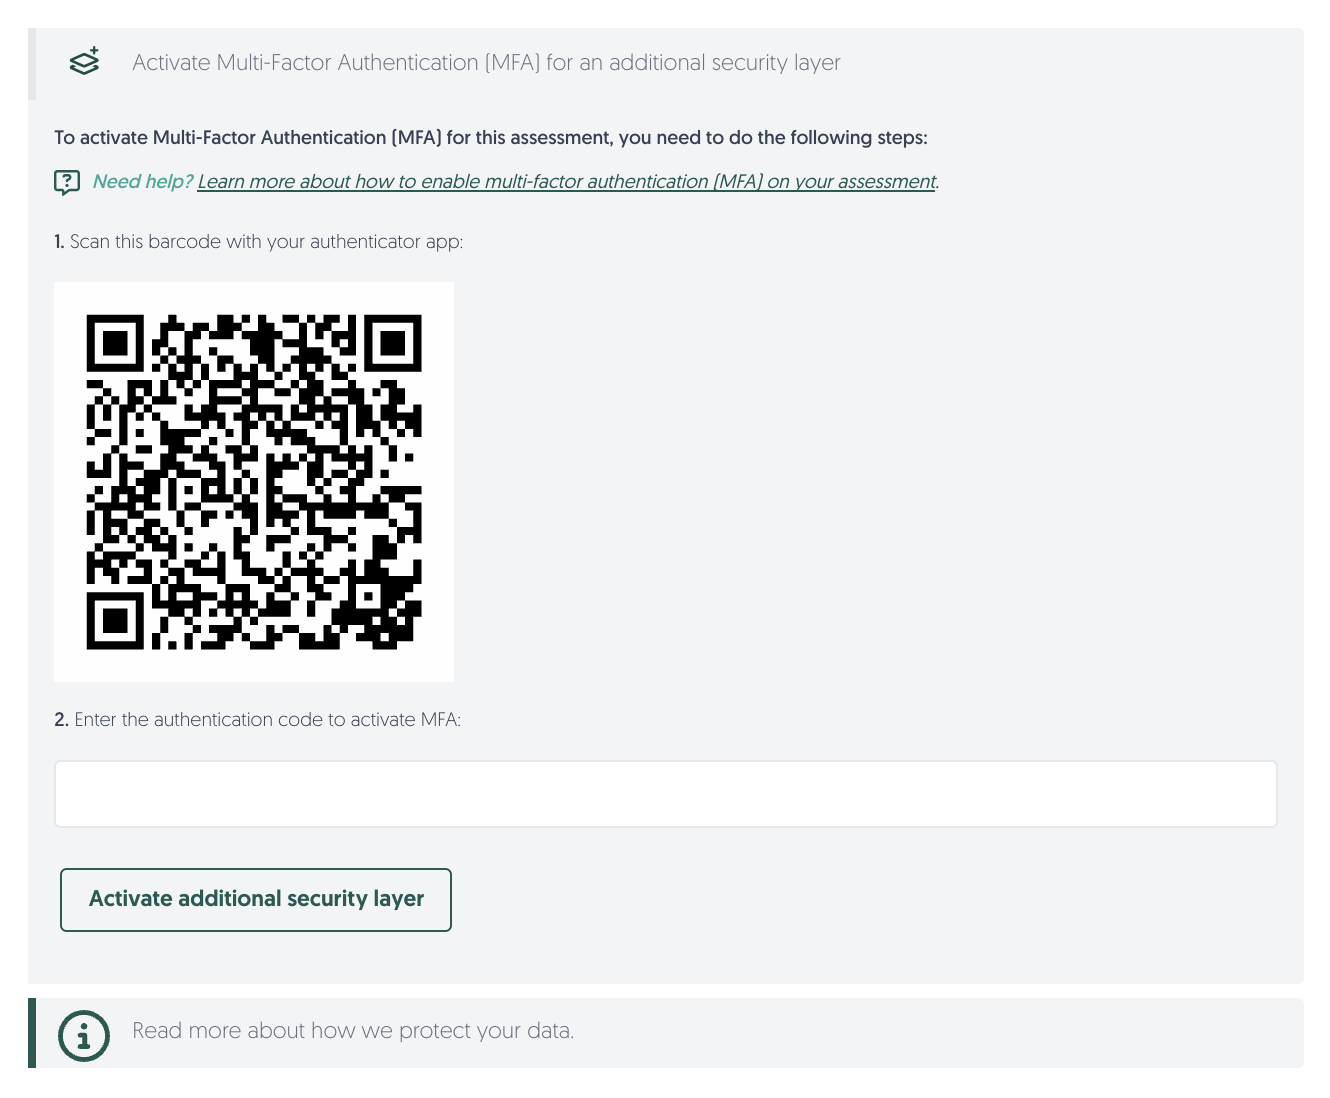
4. In your authenticator app, add a new account and scan the barcode on screen. In most apps that is a + button followed by an option such as Scan a QR code. Your app then starts showing a six-digit code for this assessment.
Note: the account name your app shows is built from the name of the organisation and the title of the assessment, so it differs per assessment.
5. Type the six-digit code from your app into Enter the authentication code to activate MFA, then click on Activate additional security layer.
Note: a code is only valid for about 30 seconds. If you see "Invalid authentication code, please try again.", wait for your app to show the next code and enter that one.
6. The banner turns green and reads Multi-Factor Authentication (MFA) as additional security layer activated. MFA is now active on this assessment.

Note: for security reasons the platform also sends you an e-mail confirming that MFA was activated.
7. When you are finished, or want to continue at a later stage, use the buttons in the top-right corner of the assessment. From left to right they invite a colleague, change the language, open the help centre, and log out. The log-out button is the one on the right.
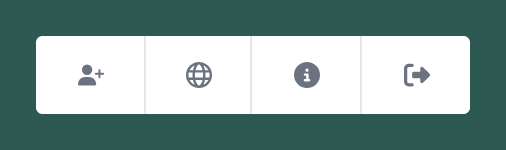
Note: the invite button is only shown to the person the assessment was originally sent to.
Sign in with MFA
Once MFA is active, every time you open the assessment you first enter your passcode, and then the six-digit code from your authenticator app.
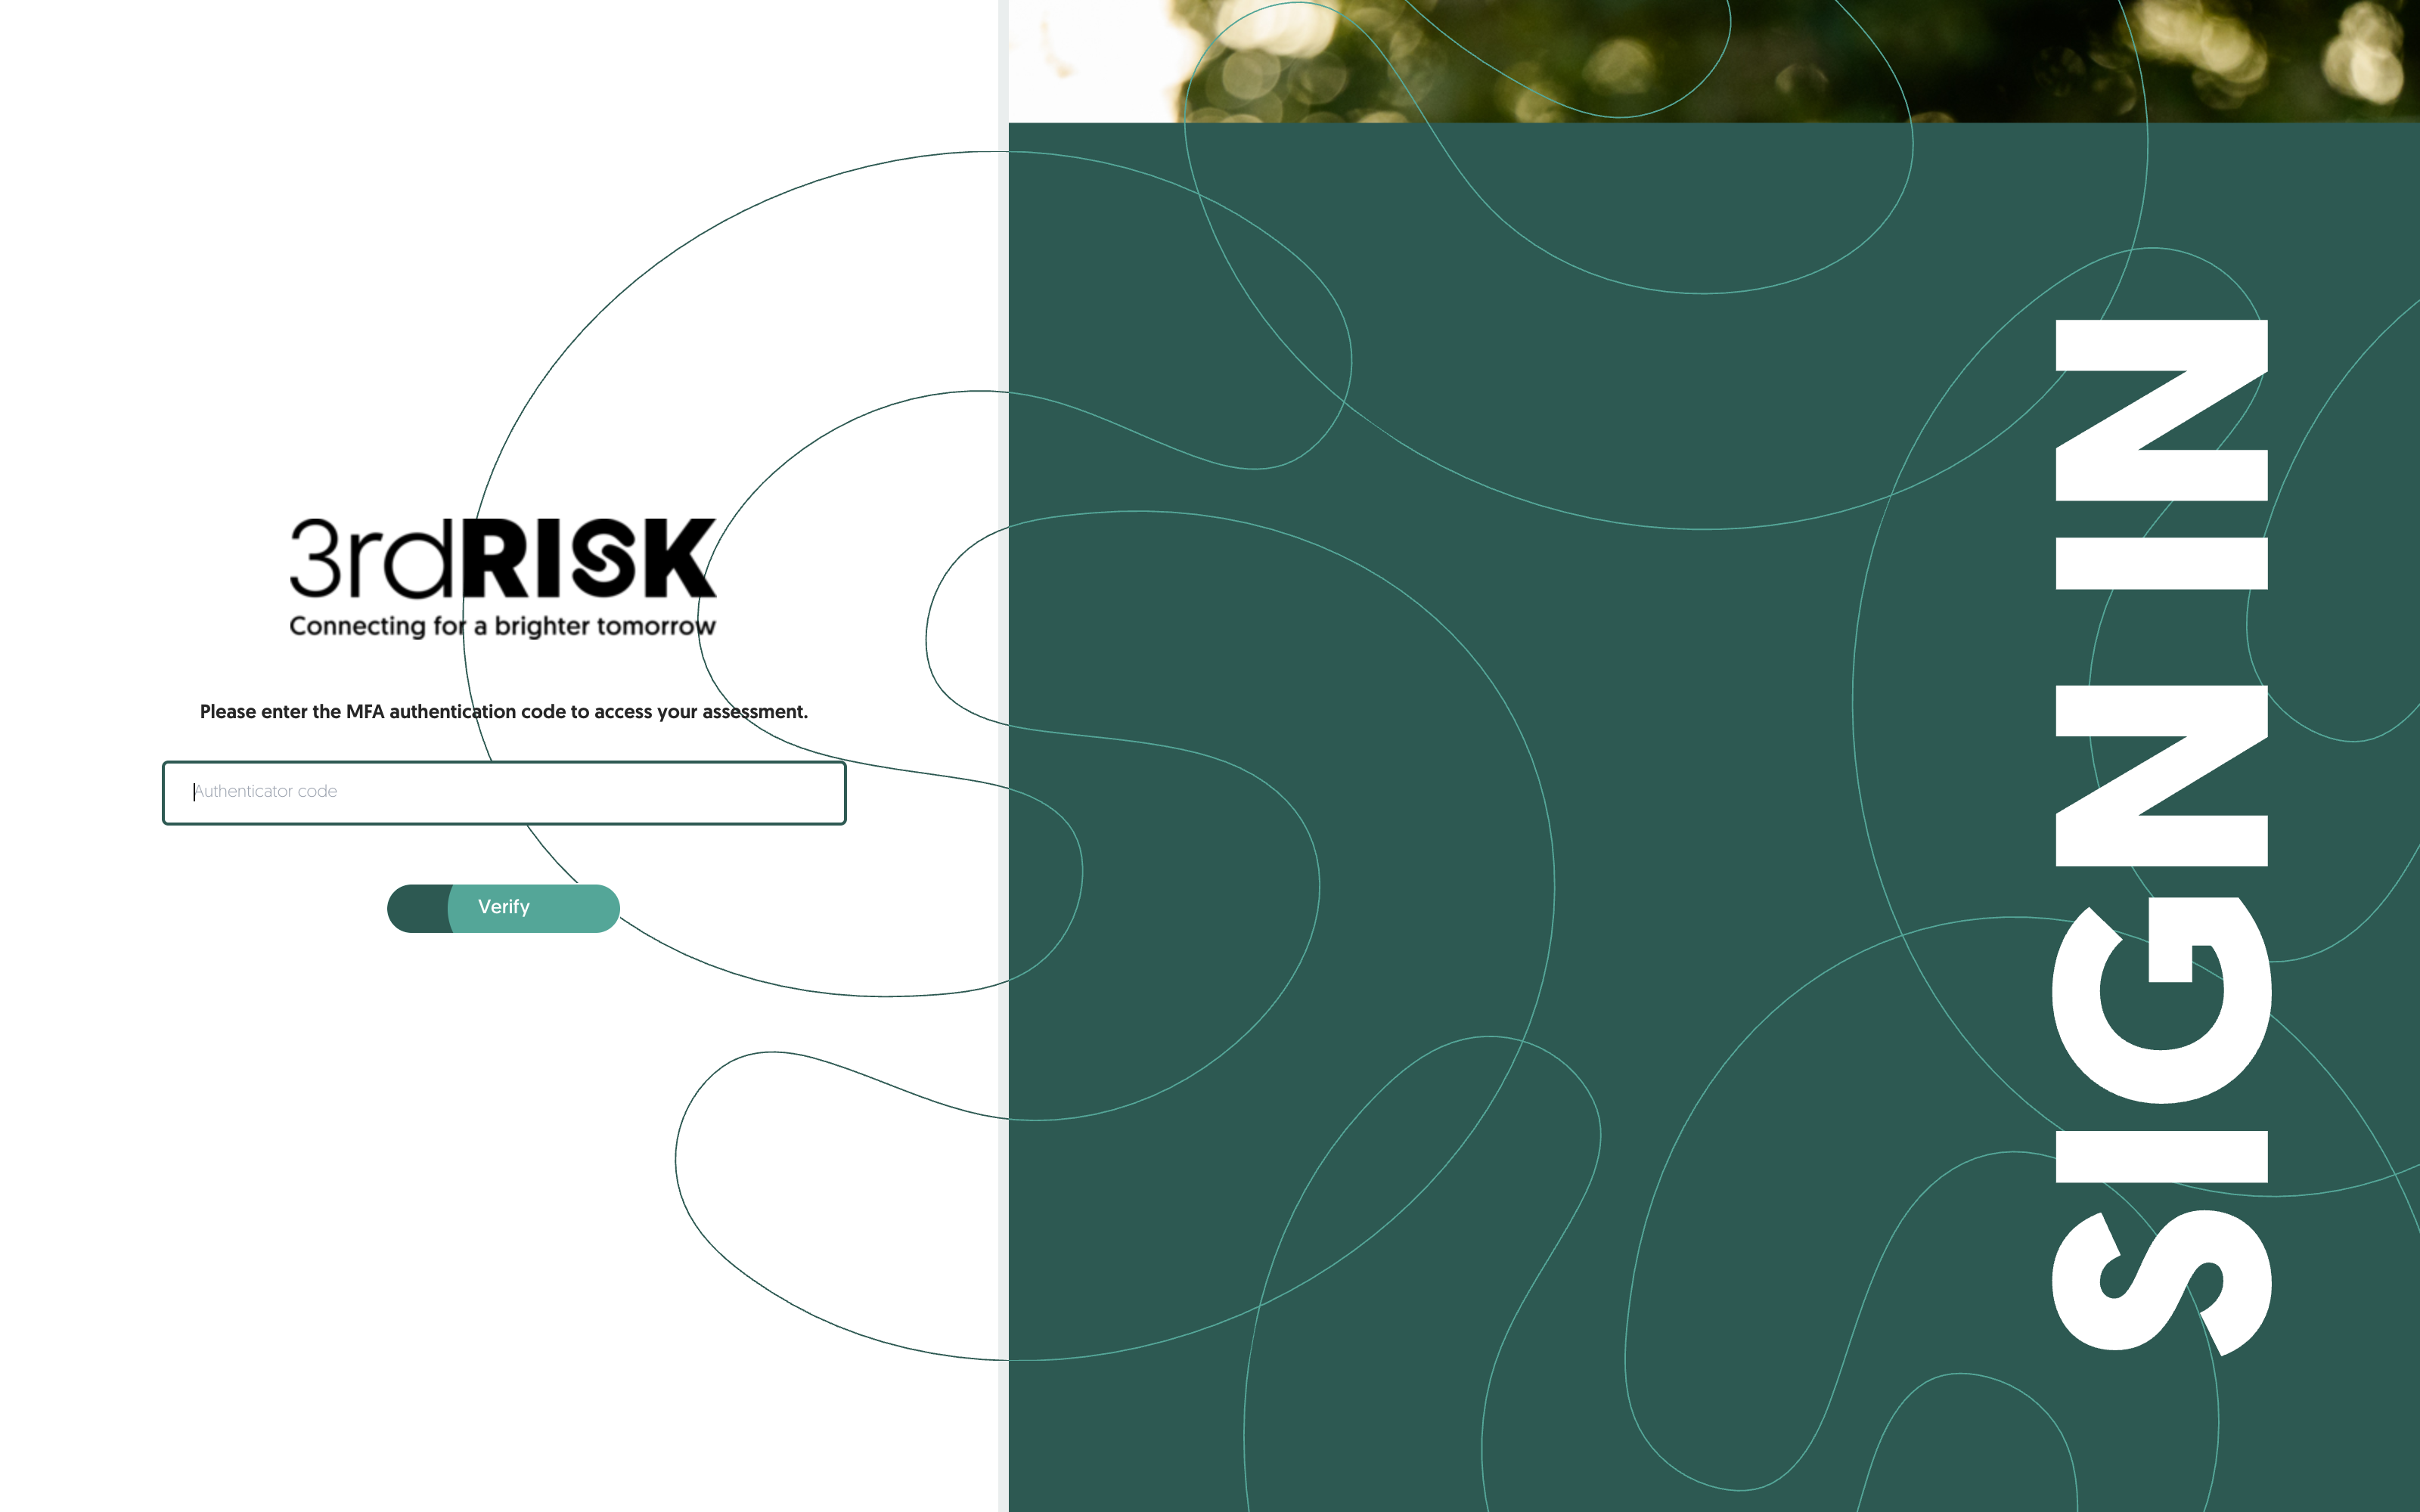
Enter the code that your app is showing at that moment and click on Verify.
Deactivate MFA on your assessment
You may want to remove MFA again, for example to hand the assessment over to a colleague. You need a working code from your authenticator app to do it.
1. Log in to the assessment.
2. Click on the green banner Multi-Factor Authentication (MFA) as additional security layer activated.
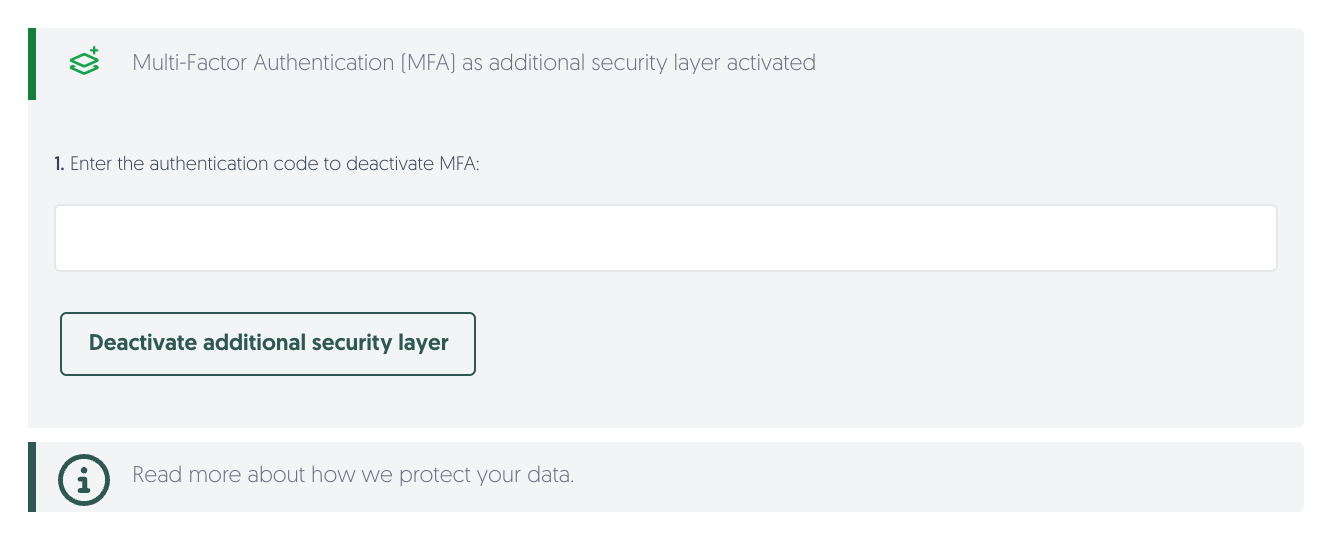
3. Type the six-digit code from your app into Enter the authentication code to deactivate MFA, then click on Deactivate additional security layer.
4. The banner returns to Activate Multi-Factor Authentication (MFA) for an additional security layer. MFA is off, and you can activate it again at any time.
Note: for security reasons the platform also sends you an e-mail confirming that MFA was removed.
Known limitations
- MFA applies to one person on one assessment. Activating it does not affect any other assessment you have been invited to, and it does not affect colleagues you invite to help you fill in this one. Each of you activates MFA separately.
- A new barcode is generated every time you open the Welcome page while MFA is off. Always scan the barcode that is on screen at that moment. If you scanned one earlier and then reloaded the page, delete that entry from your app and scan the new one.
- Deactivating MFA needs a valid code, so you cannot switch it off from a device that no longer has the authenticator entry. If you have lost access to your app, contact the organisation that sent you the assessment and ask them to reset the MFA code for you.
- There are no backup or recovery codes. The authenticator app on your phone is the only second factor.
- MFA on an assessment is separate from two-factor authentication for a 3rdRisk platform account. If you are looking for that, see Two-factor authentication (2FA).